When I first started playing regularly I never really thought I would have the time, space, or money to own a machine. When I was out of commission for a week with intense sciatica though, I came to the realiztion that my other passion of visiting amusement parks to ride rollercoasters was probably not going to remain viable for my health. At that point I started to consider purchasing something.
The new John Wick machine from Stern caught my eye with an exciting theme, a cool art package, and nice-looking toys in the premium version. I started talking with folks in the pinball community about it but was cautioned that it might not be a good starting point for a new owner since as a brand-new machine the current code it’s running is fairly light. They suggested that I might get bored with it while waiting for its full potential to be realized. While I was a little deflated following my own excitement about that particular machine, I started looking at nearby listings on the Pinside marketplace.
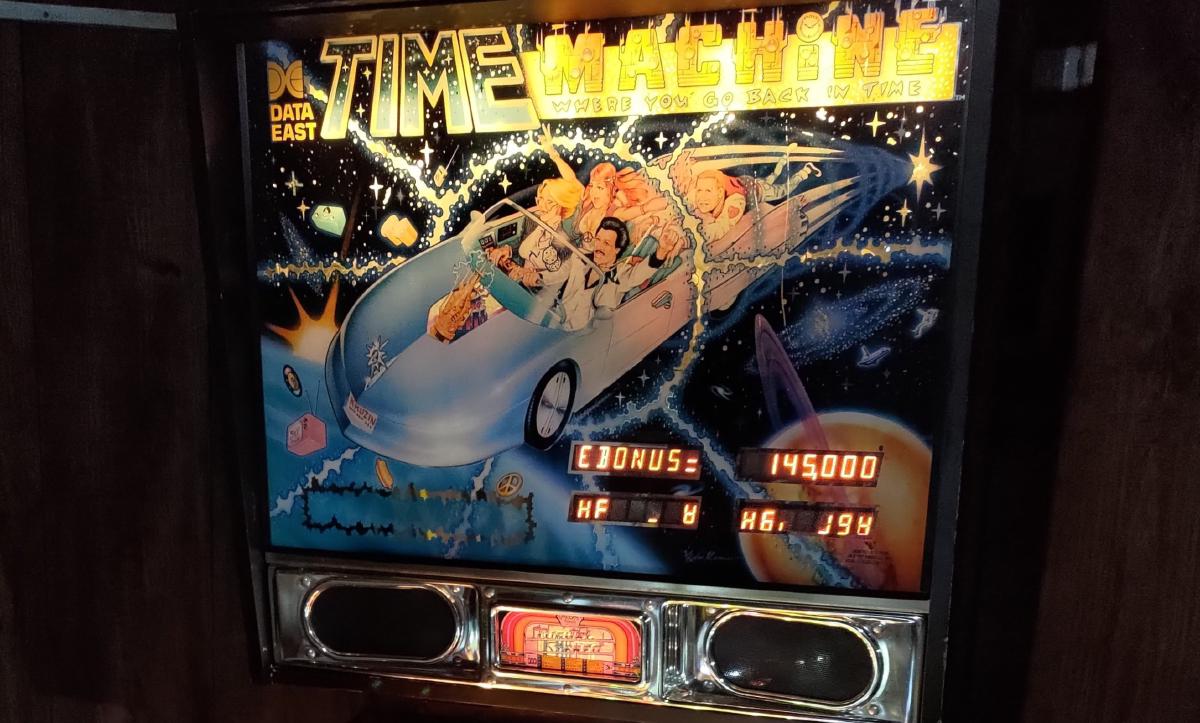
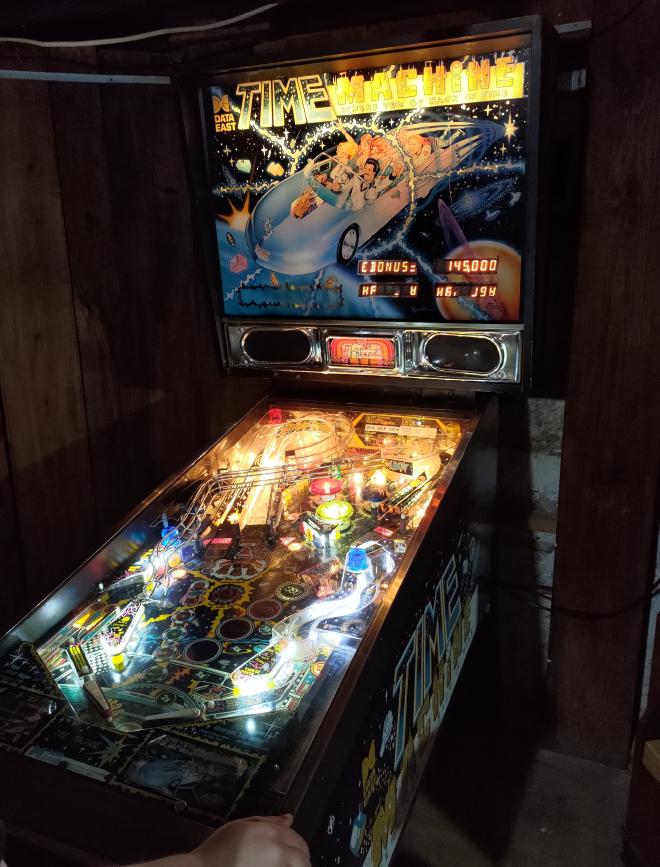
Almost right away I happened upon a listing for a Data East Time Machine in good condition that was not far from home and was going for a reasonable price. This machine caught my eye because I had played it before at a nearby arcade and noticed a very cool gimmick that it has. During play you’ll travel back in time to the 70s, 60s, and 50s (from the present 80s of course) and when you reach the 50s the game has physical chimes to replicate the sound of those original electromechanical games. On top of the fun gimmicks I really enjoy the non-licensed theme of the game which makes it something that anyone could be interested regardless of knowing anything about an IP that the machine is tied to.
Packing and Transport
Getting this massive thing on to and off of a truck and into our basement was a bit of an ordeal. I intended to rent a van from Home Depot to transport the pin in, but when I arrived they only had flatbed trucks available. While this worked, it resulted in having to lift the machine to nearly shoulder-height rather than loading it into a much more reasonable vehicle. When we arrived the seller gave a whole tour around the machine, let us play a few games, and provided us with some extra balls and LED bulbs to replace more of the incandescents with. He then helped us wrap the game up in moving blankets and plastic wrap, fold down the head and remove the legs. Getting the machine on the truck was probably not done in an OSHA-compliant way but everyone survived. With the machine secured down with ratchet straps we hit the road back toward home. With how heavy the machine turned out to be we weren’t looking forward to the unload, and it didn’t help that there were some ominous rainclouds, so we definitely wanted to get unloaded and inside as quickly as possible.
A good friend of ours was waiting when we arrived to help with the unloading process and I can’t thank her enough for her help, we really couldn’t have done it without her. We managed to lower the machine down onto a hand truck to help wheel it across the driveway to the basement door, as well as get it down three steps without any major injuries. It was at this point that things got more complicated. I didn’t know it at the time, but it turns out that this vintage of Data East machines have much wider backboxes than those of other manufacturers. While the cabinet could fit through the door no problem, the backbox was just a fraction of an inch too wide for the doorway, even with the door taken off of its hinges. So, we had to remove the backbox from its hinges and put it through the door sideways. In the future I will probably fully disconnect the backbox from the cabinet but it was starting to rain and I didn’t want to cause any electrical problems that would prevent the game from working once it was set up.
With the backbox detached mechanically, but with all of the wiring harnesses still attached we were able to slowly shimmy the cabinet along the floor in a vertical orientation, and then move the backbox along a few inches and repeat. There was one more door that we had to clear before we could reattach the backbox. At this point one of our neighbors happened by and offered to help with the process as well. With the four of us we managed to get the machine the rest of the way to its final location and get the backbox and legs reinstalled.
First Flips
Now that the machine was in place it was time to power it up for the first time and see how it played. Initially I was worried that something electrical had been damaged in the move because the switches in the ball trough were not registering the position of the balls (and I had installed them), but it turned out that one of the connectors I had disconnected in the backbox before I thought better of disconnecting everything hadn’t been plugged back in. With that hiccup worked out, the game was playing great for its age! Targets were all registering, the shots were makeable, and we were able to get back to the 50s to hear the physical chimes in the cabinet doing their thing. There were a few issues, but nothing that stopped us from enjoying the result of the harrowing process of moving the thing.
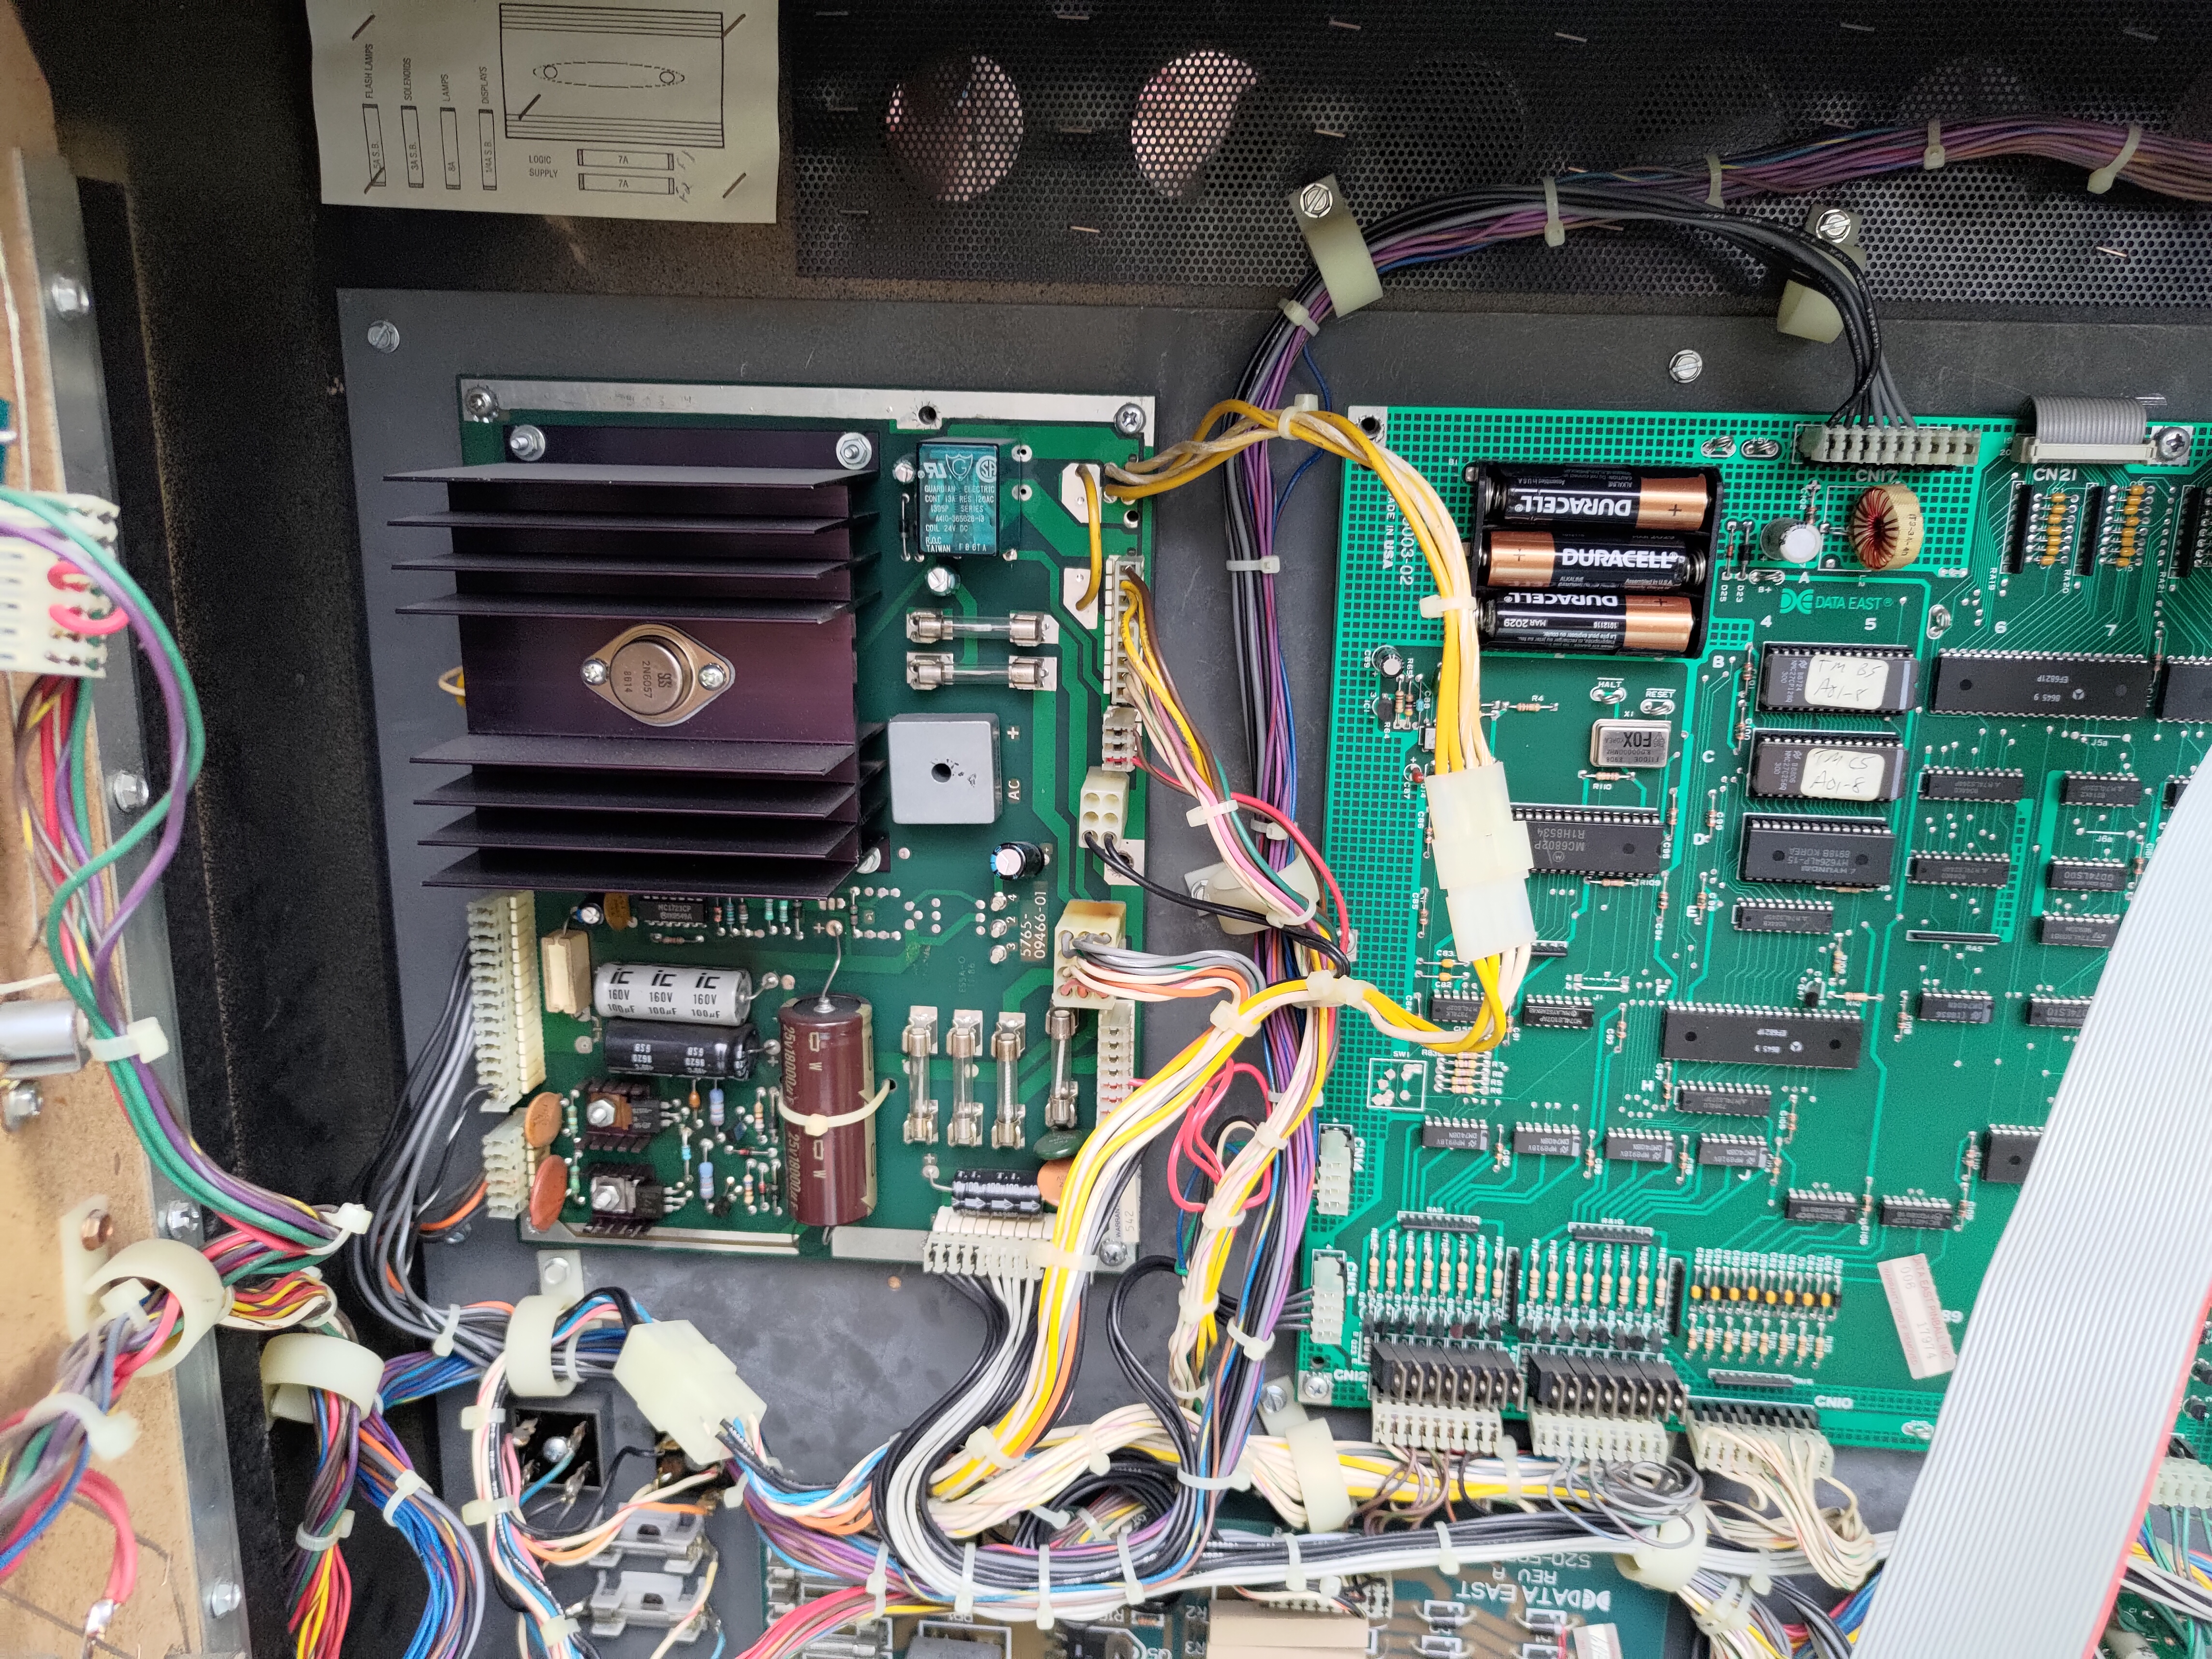
Repairs
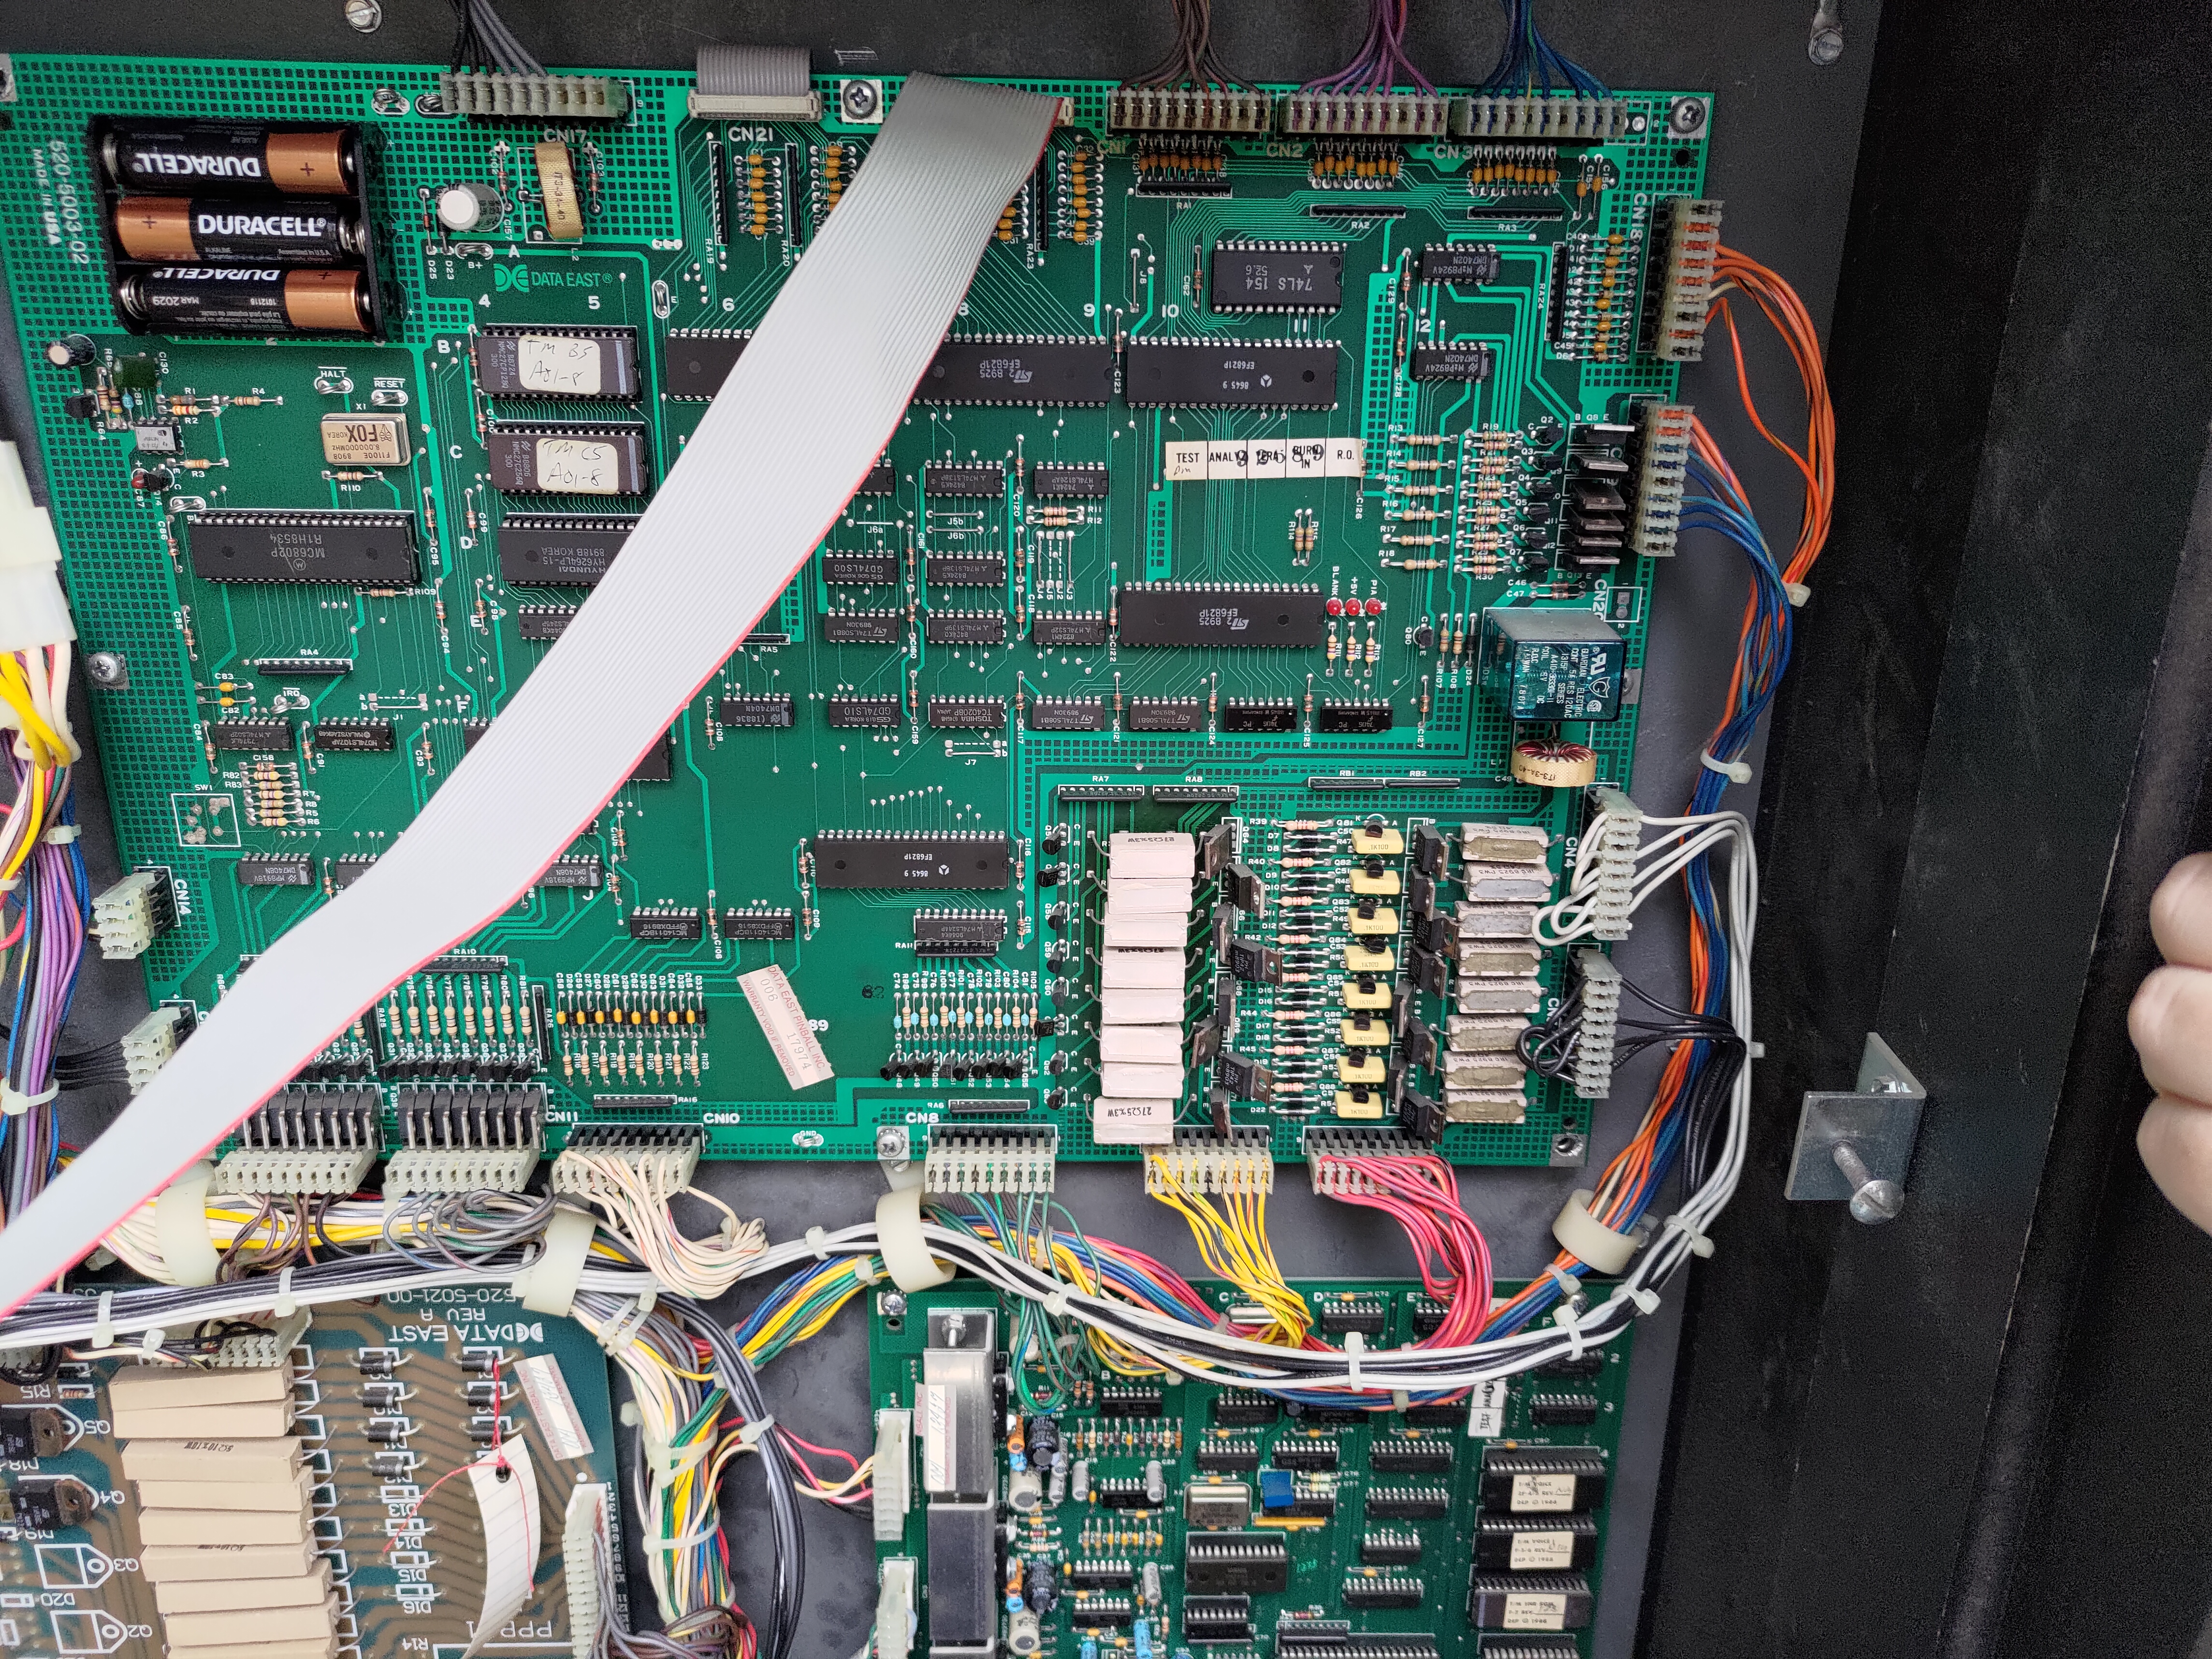
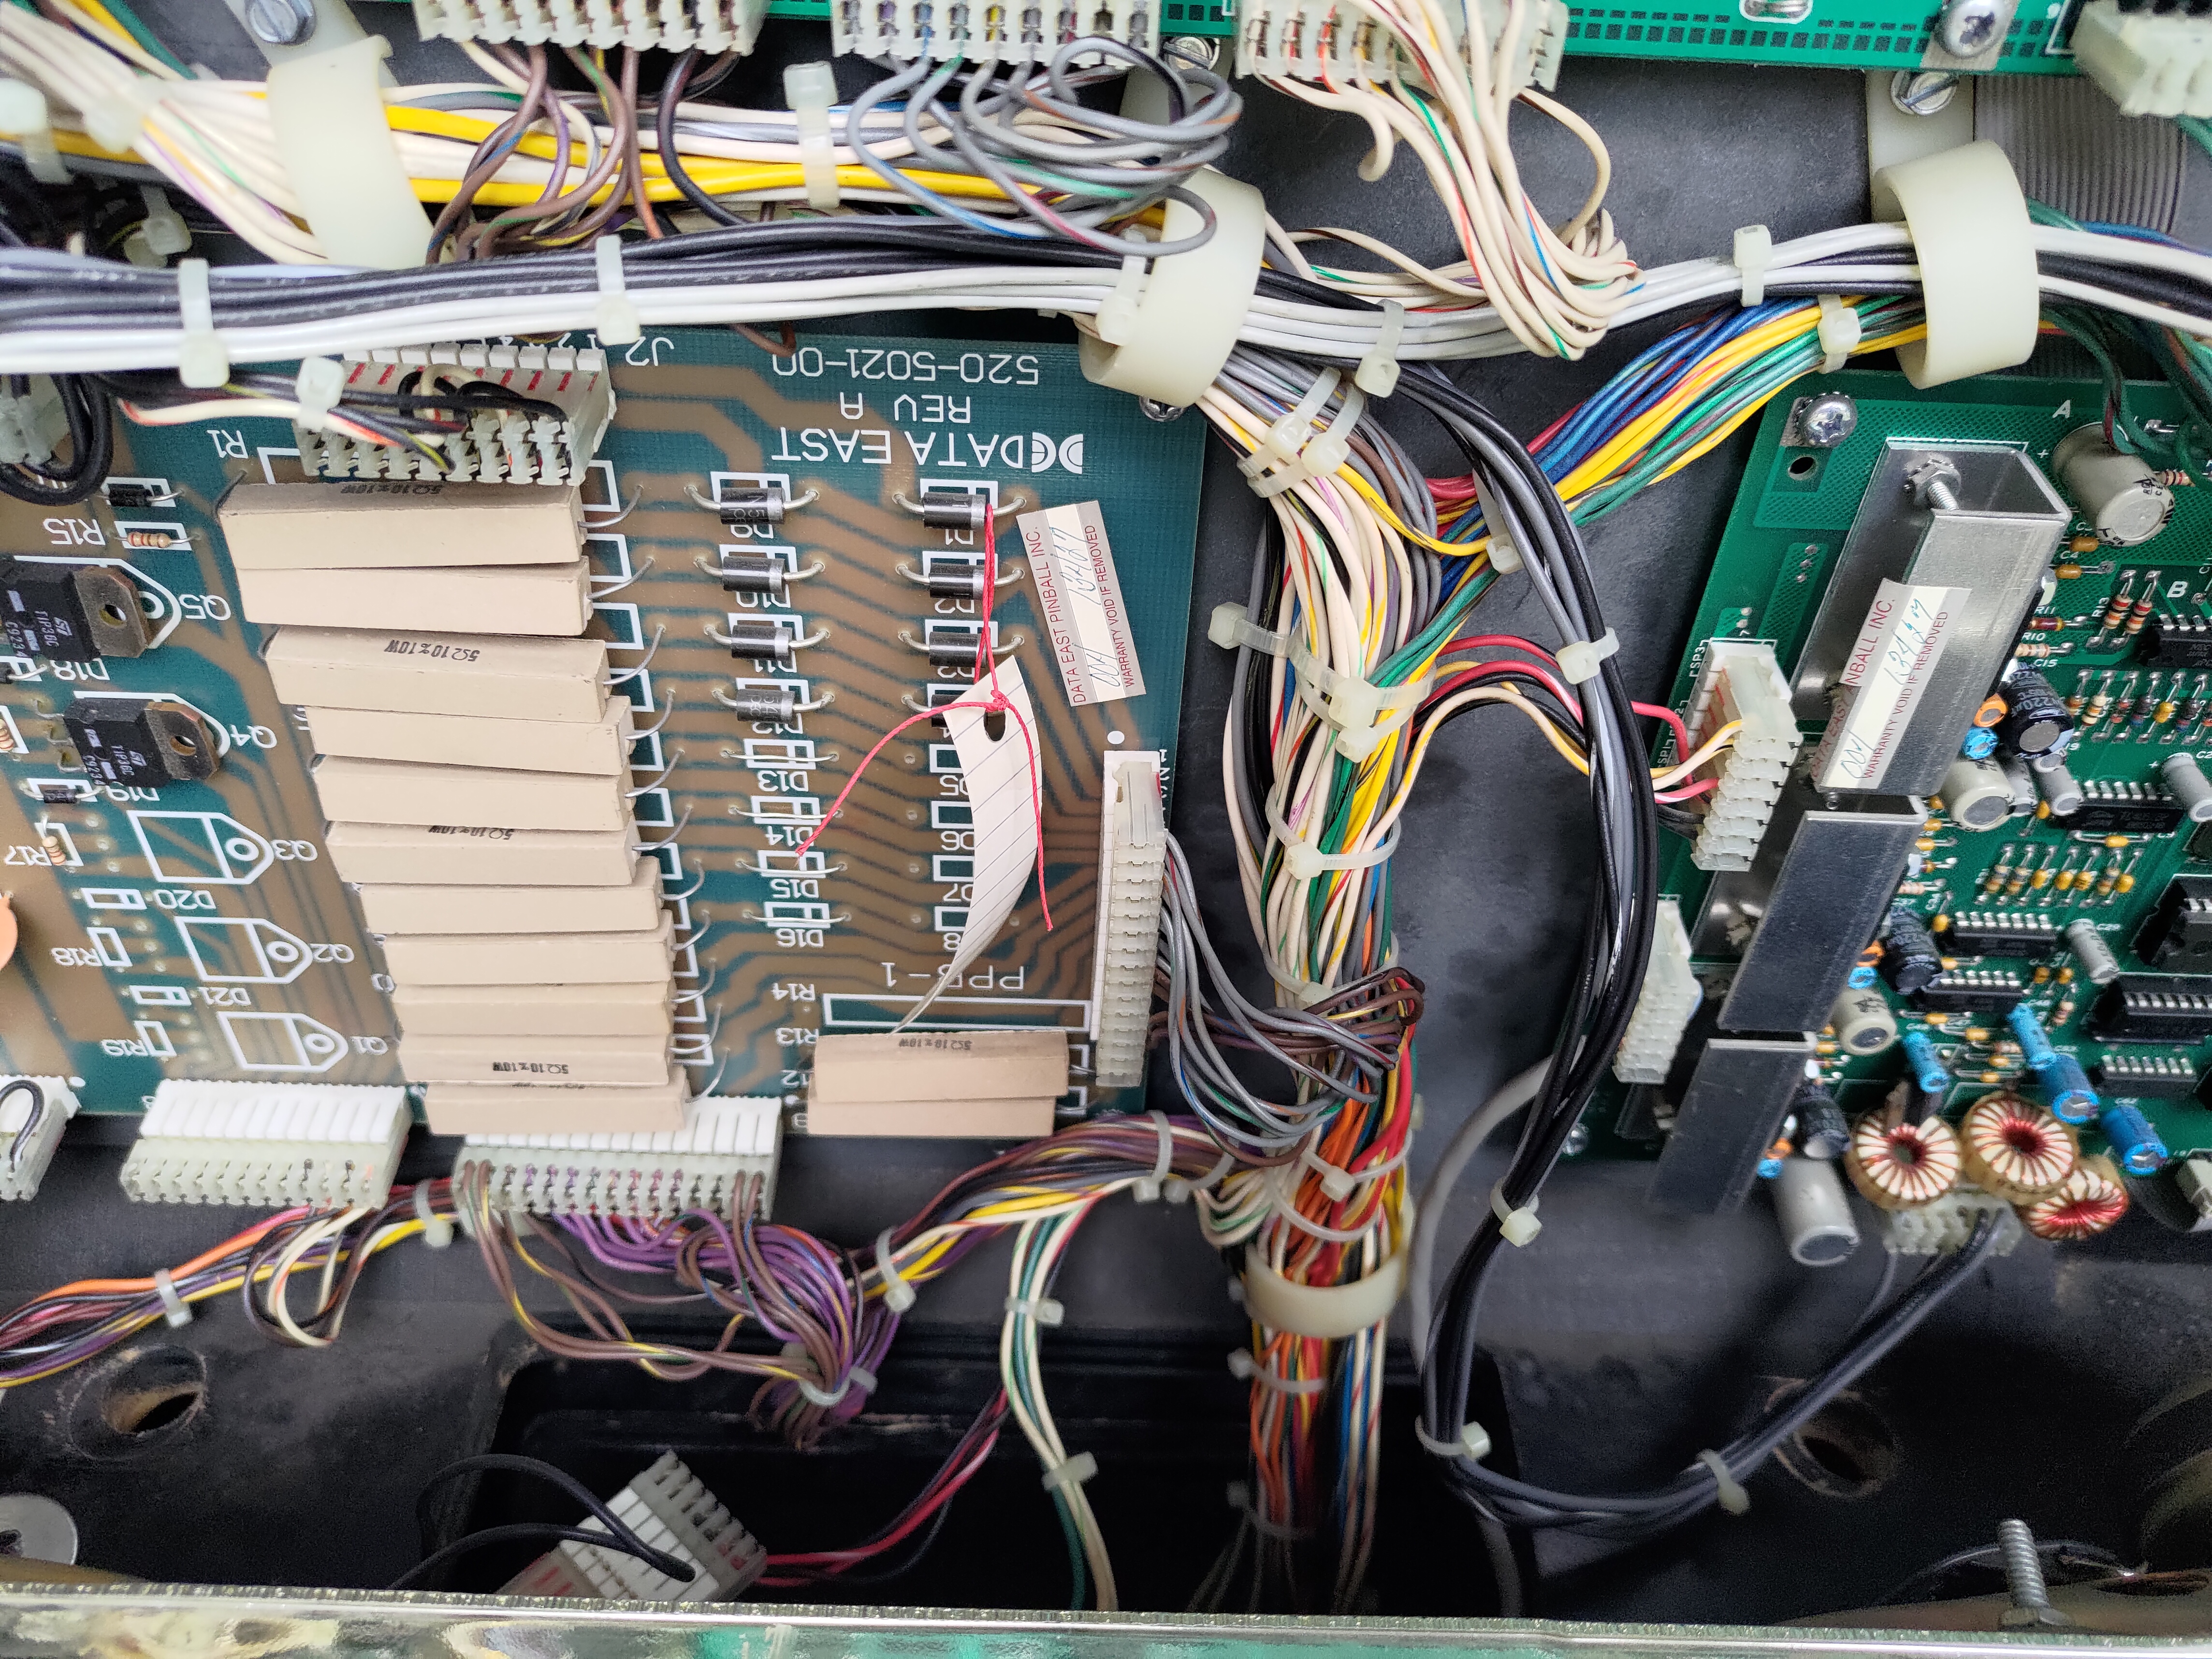
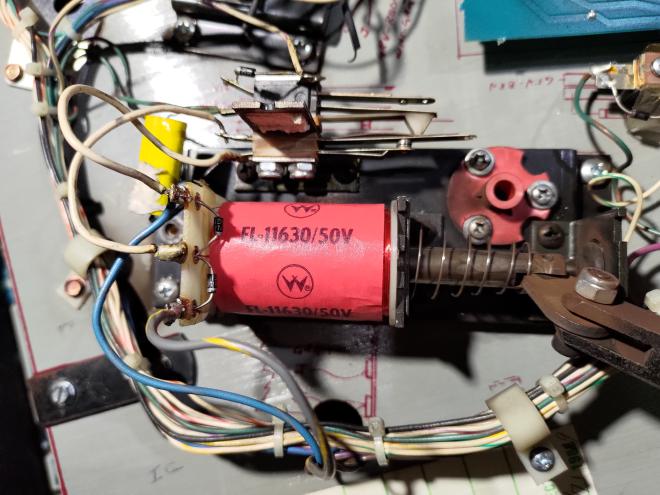
I’ll probably go into more detail in a future post, but I’ll summarize the main issues I’ve addressed since bringing the machine home. Firstly the end of stroke switch on the right flipper was only registering intermittently. This is the switch that lets you cycle the top lanes, as well as enter in initials on the high score table. I re-soldered the diode for that switch and that solved the issue. Secondly the flippers were in need of a rebuild. It was especially apparent on the left where the flipper was travelling much farther upward than the right flipper, but they both were feeling a bit underpowered. I replaced some parts on them with a rebuild kit from Pinball Life and they’re feeling much better now. There are a few more parts that need adjustment or repairs, but I’ll be chipping away at them as I go, and I’ll probably make another post about the work I’ve been doing.
Fun!
I’ve been really enjoying having my own pinball machine both for practicing my flipper skills as well as for tinkering with. I have ideas for some mods I want to make for the machine, and there are some non-urgent repairs that I’ll need more time and preparation to undertake. It’s been fun showing the machine to my friends and seeing them get into trying to improve their scores. Maybe if I can get enough people together I could host a little tournament. This probably won’t be a machine I keep forever, but I’m already learning a lot about pin maintenance and repair. I aim to have fun with it, hone my skills, and eventually leave it better than I found it when its time to make room for something new.